Step 1: Visit HostMoto.com
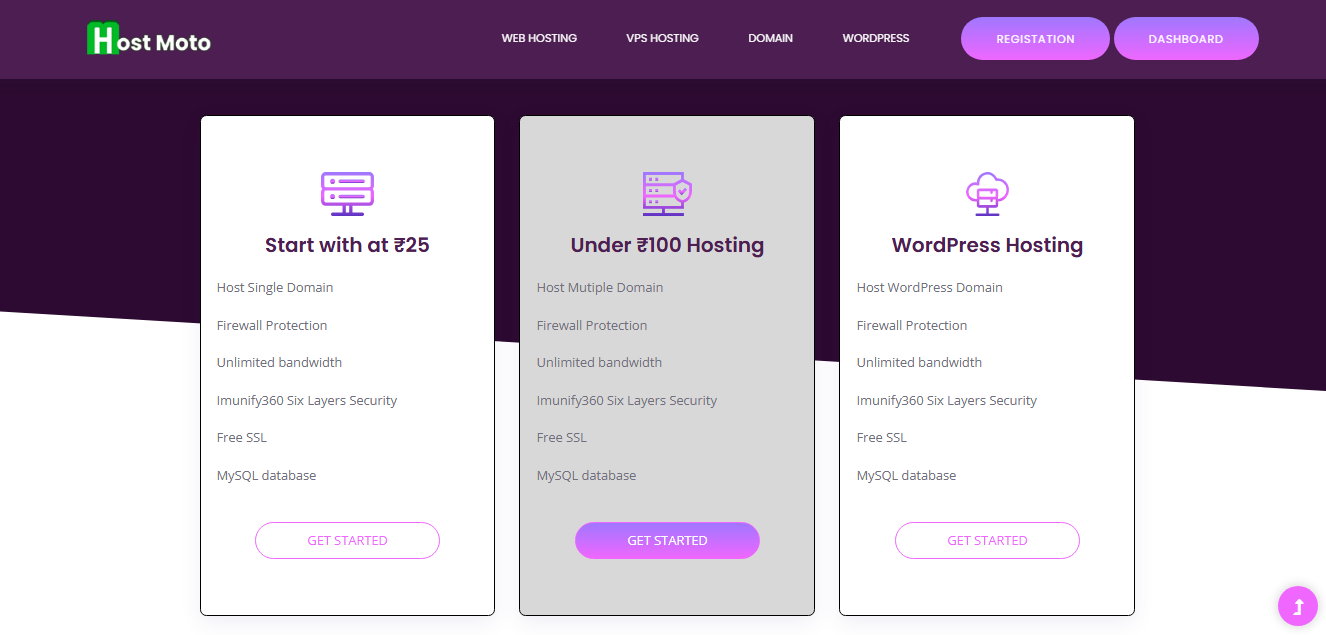
Step 2: Choose Your Hosting Plan
-
-
On the homepage or hosting page, browse available plans.
Click “Order Now” or “Buy Now” on the plan you want.
💡 Tip: ₹25/month is great for beginners or students.
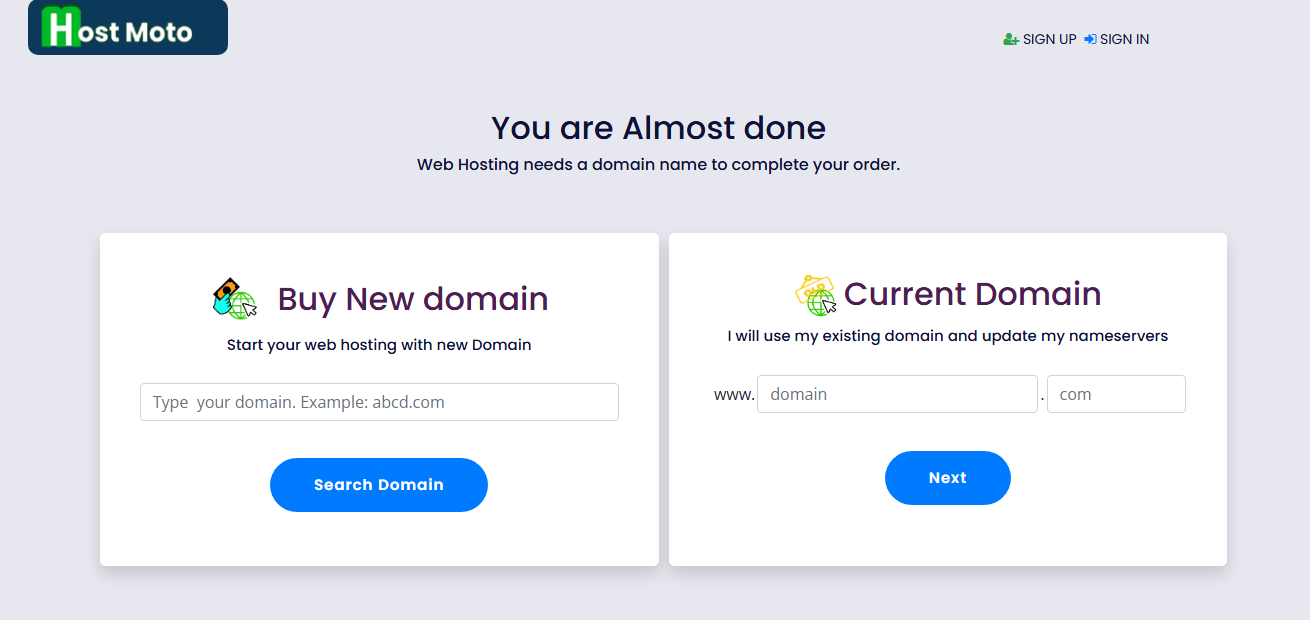
Step 3: Choose a Domain Name
You have two options:
-
-
-
-
Register a new domain (e.g., yourname.in, myblog.com)
-
Use an existing domain (if you already own one)
Choose the option you want and enter your domain name.
Step 4: Create Your Account
Fill in your basic details:
-
-
-
-
Full Name
-
Email Address
-
Phone Number
-
Password for your client area
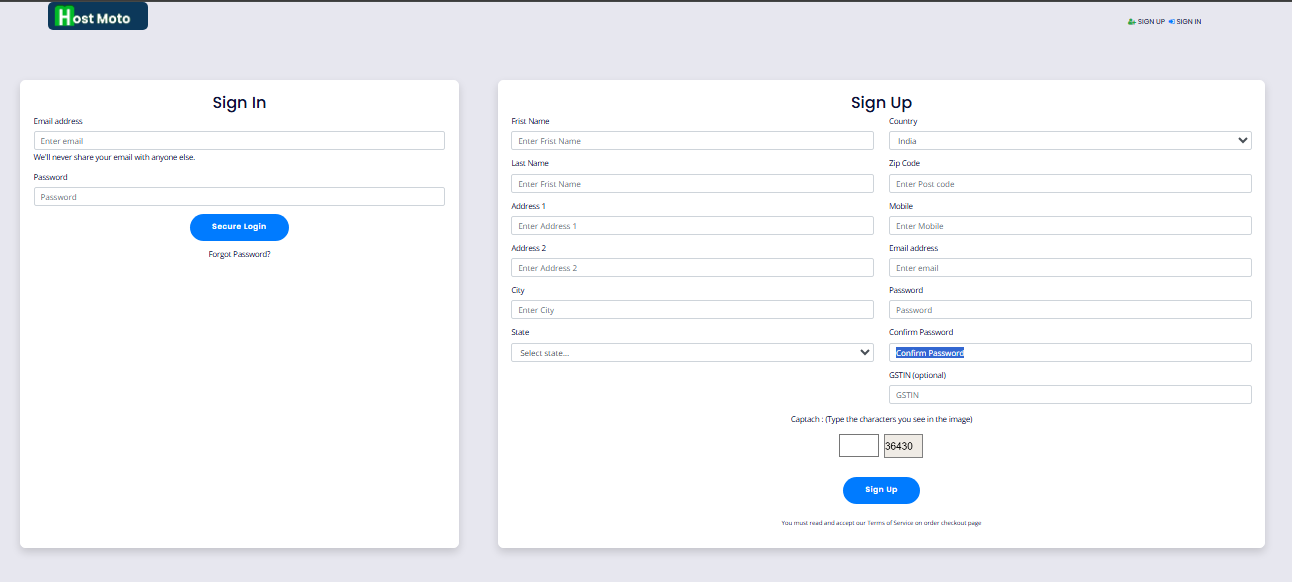
Already have an account? Just log in.
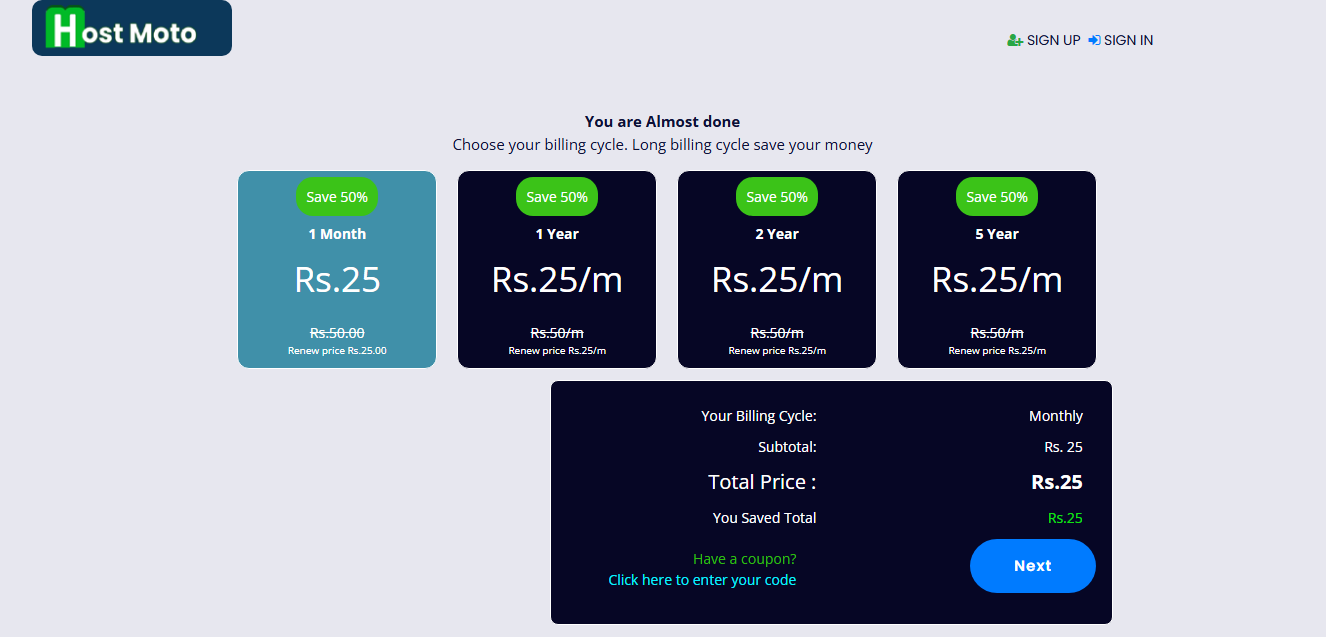
Step 5: Configure Your Hosting
-
-
-
-
Select Billing Cycle (Monthly, Quarterly, Yearly, etc.)
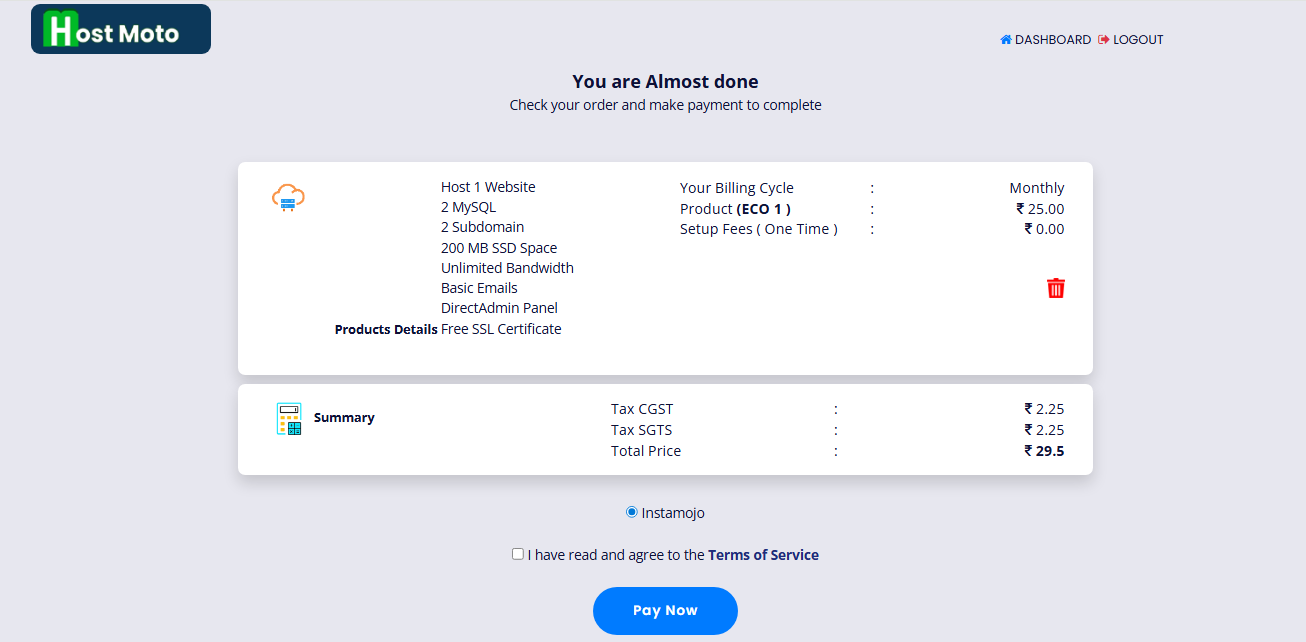
Click to pay.now
Step 6: Choose Payment Method
You’ll now see the final invoice. Select a payment option:
-
-
-
-
UPI / Paytm / Google Pay
-
Debit/Credit Card
-
Net Banking
Click Complete Order and finish the payment securely.
Step 7: Check Your Email
Once payment is successful:
-
-
-
-
You’ll get a confirmation email from HostMoto
-
You’ll also receive your hosting account details and DirectAdmin login info.
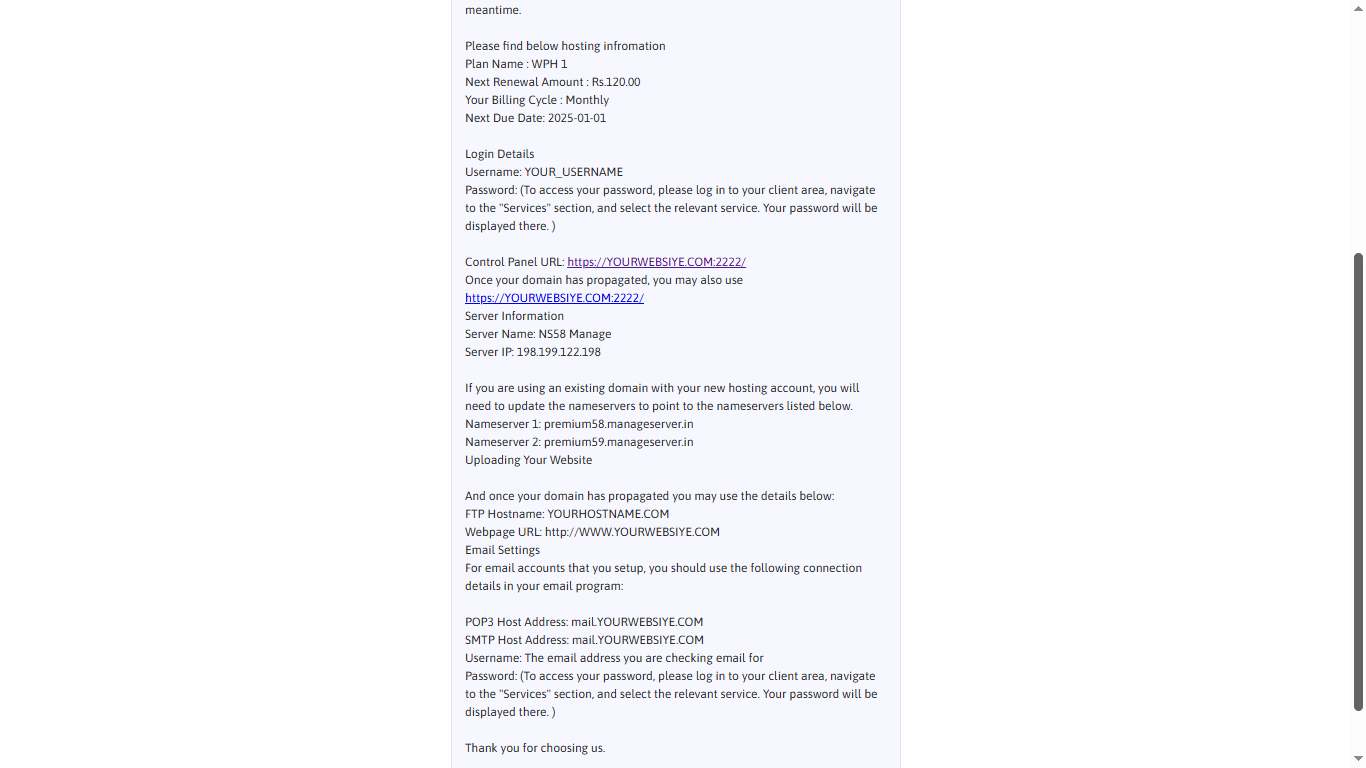
Step 8: Point Domain (If Needed)
If your domain is registered elsewhere, update nameservers to:
-
-
-
-
premium58.manageserver.in
-
premium59.manageserver.in
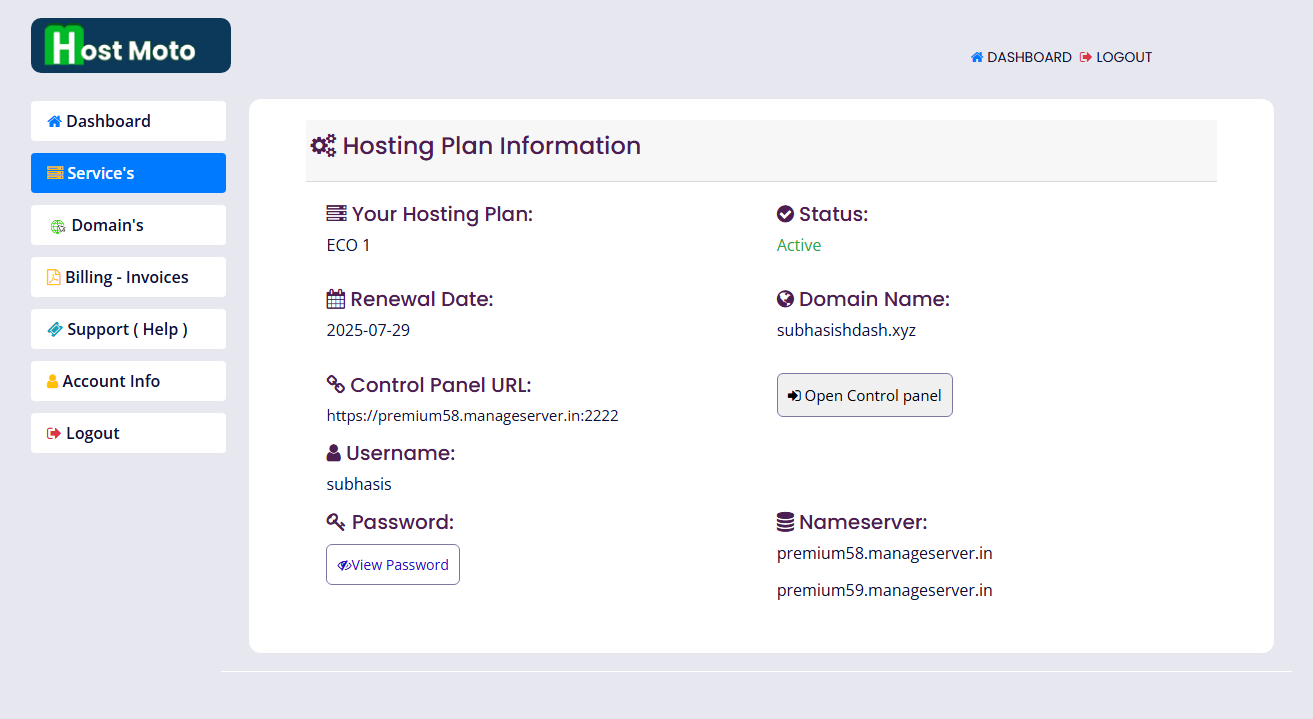
This links your domain to your hosting. Skip this if you bought the domain from HostMoto during checkout.
Was this article helpful to you?
No
Yes